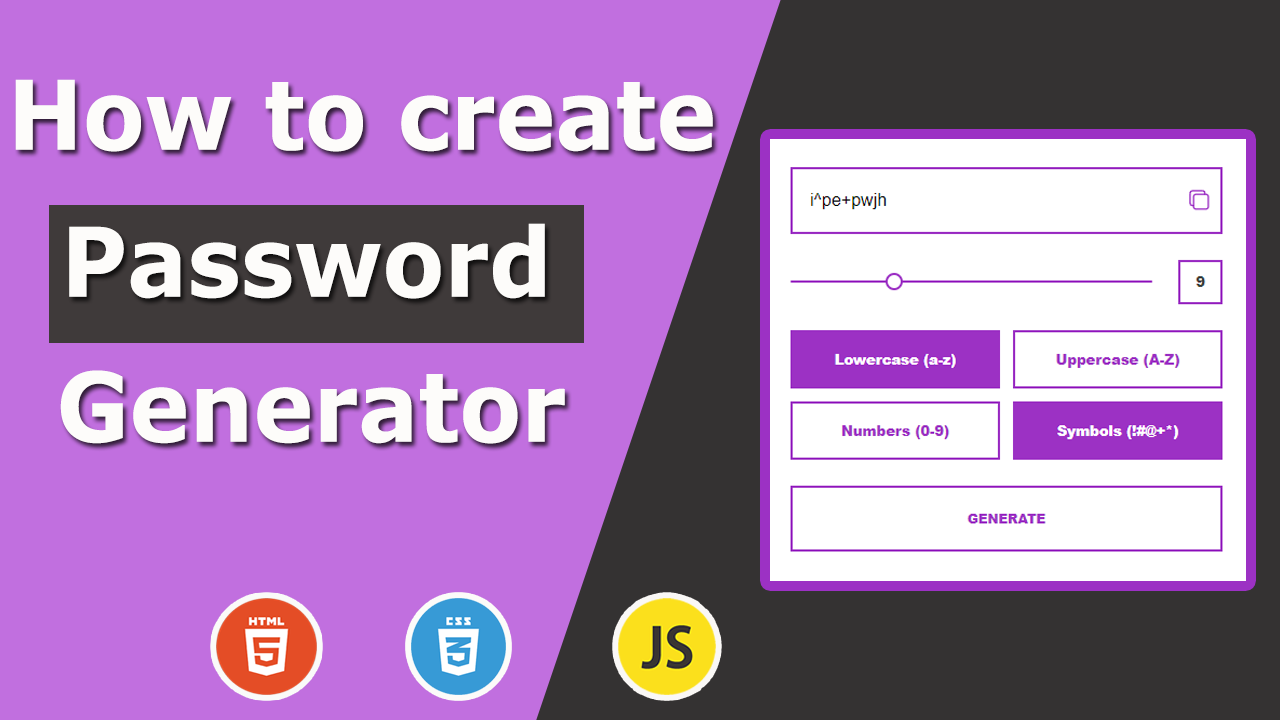
Building a Custom Password Generator Tool with JavaScript
Creating a password generator is a great way to practice JavaScript skills while making a useful tool. In this tutorial, we’ll walk through the code for a password generator that allows users to customize the length and characters included in their passwords. This tool also features an option to copy the generated password to the clipboard.
HTML Structure
To get started, let’s assume the following HTML structure is in place:
<main class="generator">
    <div class="result">
      <input type="text" class="password">
      <ion-icon class="copy" name="copy-outline"></ion-icon>
      <p class="tooltip">Copied!</p>
    </div>
    <div class="amount">
      <input type="range" class="range" min="1" max="30" value="1">
      <p class="length">1</p>
    </div>
    <div class="options">
      <label for="lowercase">
        <input type="checkbox" id="lowercase" value="abcdefghijklmnopqrstuvwxyz">
        <span>Lowercase (a-z)</span>
      </label>
      <label for="uppercase">
        <input type="checkbox" id="uppercase" value="ABCDEFGHIJKLMNOPQRSTUVWXYZ">
        <span>Uppercase (A-Z)</span>
      </label>
      <label for="number">
        <input type="checkbox" id="number" value="0123456789">
        <span>Numbers (0-9)</span>
      </label>
      <label for="symbol">
        <input type="checkbox" id="symbol" value="~@#$%^&*()<>|-_[]{}+=">
        <span>Symbols (!#@+*)</span>
      </label>
    </div>
    <button class="btn">Generate</button>
  </main>
This structure includes a range input for selecting password length, checkboxes for choosing character types, an input field for displaying the password, and buttons to generate and copy the password.
JavaScript Code Breakdown
Let’s dive into the JavaScript code that powers this password generator tool:
1. Selecting DOM Elements:
const range = document.querySelector('.range');
const length = document.querySelector('.length');
const password = document.querySelector('.password');
const tooltip = document.querySelector('.tooltip');
let options = [];
We start by selecting the necessary DOM elements using document.querySelector. These elements include the range input, length display, password display, and tooltip for copying notifications. We also initialize an options array to store the character sets for password generation.
2. Reset Tooltip Animation:
const reset = () => setTimeout(() => tooltip.classList.remove('animate'), 500);
This function resets the tooltip’s animation by removing the ‘animate’ class after 500 milliseconds.
3. Copying Password to Clipboard:
function copyPassword() {
  if (!options.length) return;
  navigator.clipboard.writeText(password.value);
  tooltip.classList.add('animate');
  tooltip.addEventListener('transitionend', reset, false);
}
The copyPassword function checks if there are any options selected. If so, it copies the password to the clipboard using the navigator.clipboard.writeText method, adds an animation class to the tooltip, and resets it after the animation ends.
4. Updating Range Value:
function updateRange(e) {
  length.textContent = this.value;
  insertPassword(e);
}
The updateRange function updates the displayed password length when the range input changes and triggers password generation with the new length.
5.Generating and Displaying Password:
const insertPassword = (e) => password.value = updatePassword(e);
const random = (str) => str[Math.floor(Math.random() * str.length)];
function generatePassword(options, amount, res = '') {
  for (let i = 0; i < amount; i++) res += random(options.join(''));
  return options.length ? res : '';
}
insertPassword: Updates the password field with the newly generated password.random: Helper function to select a random character from a string.generatePassword: Loops through the specified amount of characters and concatenates random characters from the available options.
6. Updating Options Based on User Selection:
function updateOptions(checkbox) {
  return checkbox.checked
    ? [...options, checkbox.value]
    : options.filter((v) => v !== checkbox.value);
}
The updateOptions function updates the options array based on which checkboxes are checked or unchecked.
7. Password Generation Logic:
function updatePassword(checkbox) {
  options = updateOptions(checkbox);
  return generatePassword(options, range.value);
}
This function updates the options and generates a new password using the updated character set and password length.
8. Event Listeners Initialization:
function init(e) {
  e.target.matches(`input[type='checkbox']`) && updatePassword(e.target);
  e.target.matches('.btn') && insertPassword(e);
  e.target.matches('.copy') && copyPassword();
}

window.addEventListener('input', init, false);
window.addEventListener('click', init, false);
range.addEventListener('input', updateRange, false);
Here, we set up event listeners for input changes and button clicks. The init function handles different types of events and calls the appropriate function based on what the user interacts with.
Conclusion
This JavaScript code provides a simple yet effective way to create a customizable password generator. By understanding each function and how they interact, you can modify the tool to add more features or customize its behavior according to your needs. Try building this yourself and explore additional ways to enhance the password generator!