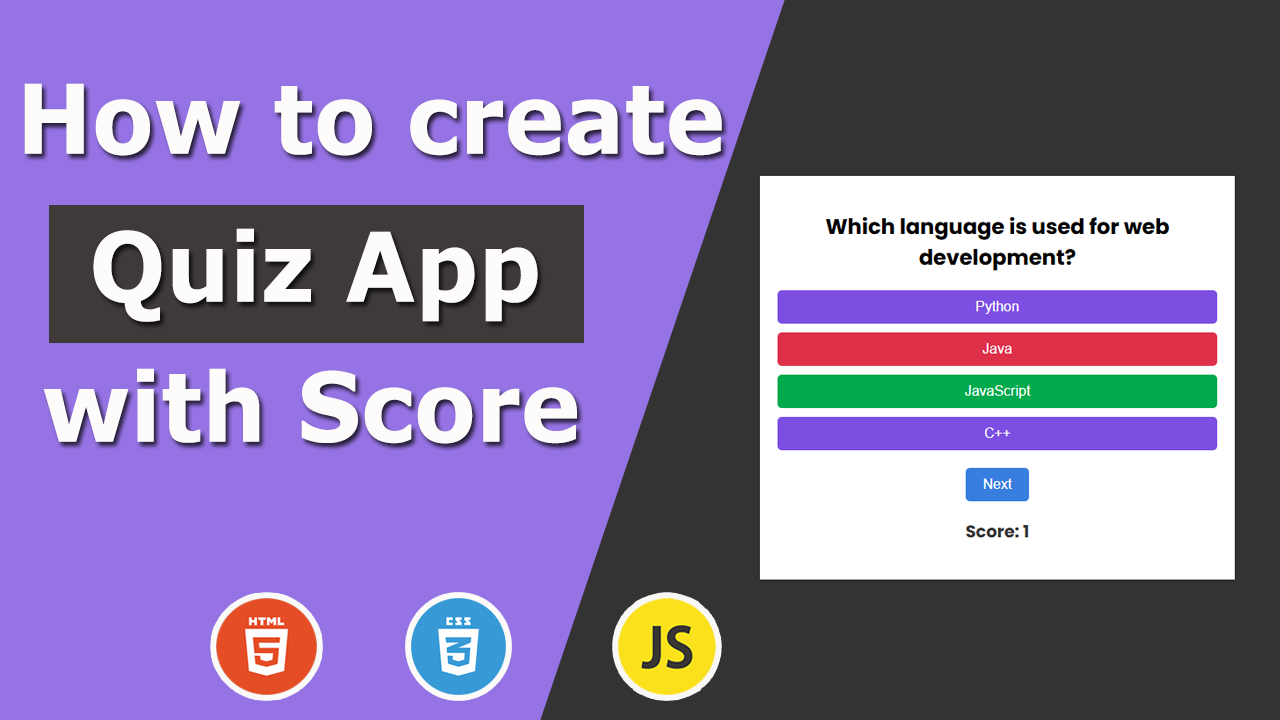
How to Build a JavaScript Quiz App with Score Tracking
Creating a Quiz App is a fantastic way to practice JavaScript skills, and it makes for an engaging, interactive project. In this tutorial, we’ll build a simple Quiz App using JavaScript, HTML, and CSS. This app will feature score tracking, and at the end of the quiz, users will see their final score and have the option to retake the quiz.
Features
- Display questions with multiple-choice options.
- Track correct answers to calculate the final score.
- Show the correct answer after each question.
- Display the final score after completing the quiz.
- Allow users to retake the quiz after finishing.
Step 1: Setting Up the HTML Structure
First, we’ll set up a basic HTML structure. This layout includes a container for displaying questions, answer options, and a score tracker. Here’s the HTML code:
<!DOCTYPE html>
<html lang="en">
<head>
  <meta charset="UTF-8">
  <meta name="viewport" content="width=device-width, initial-scale=1.0">
  <title>Quiz App</title>
  <link rel="stylesheet" href="style.css">
</head>
<body>
  <div class="quiz-container">
    <h2 id="question">Question text</h2>
    <div class="options">
      <button class="option" onclick="selectAnswer(0)">Option 1</button>
      <button class="option" onclick="selectAnswer(1)">Option 2</button>
      <button class="option" onclick="selectAnswer(2)">Option 3</button>
      <button class="option" onclick="selectAnswer(3)">Option 4</button>
    </div>
    <button id="next-btn" onclick="nextQuestion()">Next</button>
    <h3 id="score"></h3>
    <button id="retake-btn" onclick="retakeQuiz()" style="display: none;">Retake Quiz</button>
  </div>
  <script src="script.js"></script>
</body>
</html>
Explanation
<h2 id="question">: Displays the question text.<div class="options">: Contains buttons for each answer option.#score: Shows the user’s current score.#next-btn: The button that takes the user to the next question.#retake-btn: Allows users to restart the quiz after completing it.
Step 2: Styling the Quiz with CSS
For a simple and clean design, use the following CSS:
body {
  display: flex;
  justify-content: center;
  align-items: center;
  height: 100vh;
  font-family: Arial, sans-serif;
  background-color: #f4f4f9;
  margin: 0;
}

.quiz-container {
  width: 80%;
  max-width: 500px;
  background-color: #fff;
  padding: 20px;
  box-shadow: 0 0 10px rgba(0, 0, 0, 0.1);
  text-align: center;
}

h2 {
  font-size: 1.5em;
  margin-bottom: 20px;
}

.options {
  display: grid;
  gap: 10px;
  margin-bottom: 20px;
}

.option {
  padding: 10px;
  font-size: 1em;
  background-color: #6c5ce7;
  color: white;
  border: none;
  border-radius: 5px;
  cursor: pointer;
}

.option:hover {
  background-color: #4c4eb7;
}

.option.correct {
  background-color: #28a745; /* Green for correct answer */
}

.option.wrong {
  background-color: #dc3545; /* Red for incorrect answer */
}

#next-btn, #retake-btn {
  padding: 10px 20px;
  font-size: 1em;
  background-color: #0984e3;
  color: white;
  border: none;
  border-radius: 5px;
  cursor: pointer;
  margin-top: 10px;
}

#next-btn:hover, #retake-btn:hover {
  background-color: #0873c0;
}

#score {
  margin-top: 20px;
  font-size: 1.2em;
  color: #333;
}
Step 3: Adding JavaScript Logic
Now we’ll add JavaScript to make the quiz functional. This script handles displaying questions, tracking the score, and allowing users to retake the quiz.
const questions = [
  {
    question: "What is the capital of France?",
    options: ["Paris", "London", "Berlin", "Madrid"],
    answer: 0
  },
  {
    question: "Which language is used for web development?",
    options: ["Python", "Java", "JavaScript", "C++"],
    answer: 2
  },
  {
    question: "What is the result of 3 + 2?",
    options: ["5", "6", "7", "4"],
    answer: 0
  }
];

let currentQuestionIndex = 0;
let score = 0;

function displayQuestion() {
  const questionElement = document.getElementById("question");
  const optionButtons = document.querySelectorAll(".option");
  const question = questions[currentQuestionIndex];

  questionElement.textContent = question.question;
  optionButtons.forEach((button, index) => {
    button.textContent = question.options[index];
    button.disabled = false;
    button.classList.remove("correct", "wrong");
  });

  document.getElementById("next-btn").style.display = "inline";
  document.getElementById("retake-btn").style.display = "none";
  document.getElementById("score").textContent = "";
}

function selectAnswer(selectedOptionIndex) {
  const question = questions[currentQuestionIndex];
  const optionButtons = document.querySelectorAll(".option");

  if (selectedOptionIndex === question.answer) {
    score++;
    optionButtons[selectedOptionIndex].classList.add("correct");
  } else {
    optionButtons[selectedOptionIndex].classList.add("wrong");
    optionButtons[question.answer].classList.add("correct");
  }

  optionButtons.forEach(button => button.disabled = true);
}

function nextQuestion() {
  currentQuestionIndex++;
  if (currentQuestionIndex < questions.length) {
    displayQuestion();
  } else {
    endQuiz();
  }
}

function endQuiz() {
  document.getElementById("question").textContent = "Quiz Complete!";
  document.querySelector(".options").style.display = "none";
  document.getElementById("next-btn").style.display = "none";
  document.getElementById("score").textContent = `Final Score: ${score}/${questions.length}`;
  document.getElementById("retake-btn").style.display = "inline";
}

function retakeQuiz() {
  score = 0;
  currentQuestionIndex = 0;
  document.getElementById("score").textContent = "";
  document.querySelector(".options").style.display = "grid";
  displayQuestion();
}

// Initialize the quiz when the page loads
window.onload = displayQuestion;
Explanation of JavaScript Functions
displayQuestion(): Displays the current question and answer options, enabling answer selection.selectAnswer(): Checks the selected answer. If correct, it applies a green color; if incorrect, it highlights the correct answer in green and the incorrect one in red.nextQuestion(): Moves to the next question. If there are no more questions, it calls endQuiz().endQuiz(): Displays the final score and shows the Retake Quiz button.retakeQuiz(): Resets the quiz by setting score and currentQuestionIndex back to 0, then reloads the first question.
Conclusion
This JavaScript Quiz App offers an interactive way to engage with users, providing instant feedback and a retake option. Feel free to customize the questions, styling, or functionality to make this app uniquely yours. Happy coding, and enjoy your new Quiz App!